SGP Quality Lab

Complaint process

Share:

Complaint analysis enables comprehensive qualitative interpretation of the examined detail. It is supported by: computer tomography, modern DR technologies and 3D scanning.

Thanks to non-destructive testing we are able to examine internal structure of the detail, isolate irregularities and measure them on the basis of drawings provided by the Customer.

In addition, we compare the obtained 3D image and CAD model, presenting the results through a color grid and measurement report based on 2D drawing of the workpiece or the information from the customer.

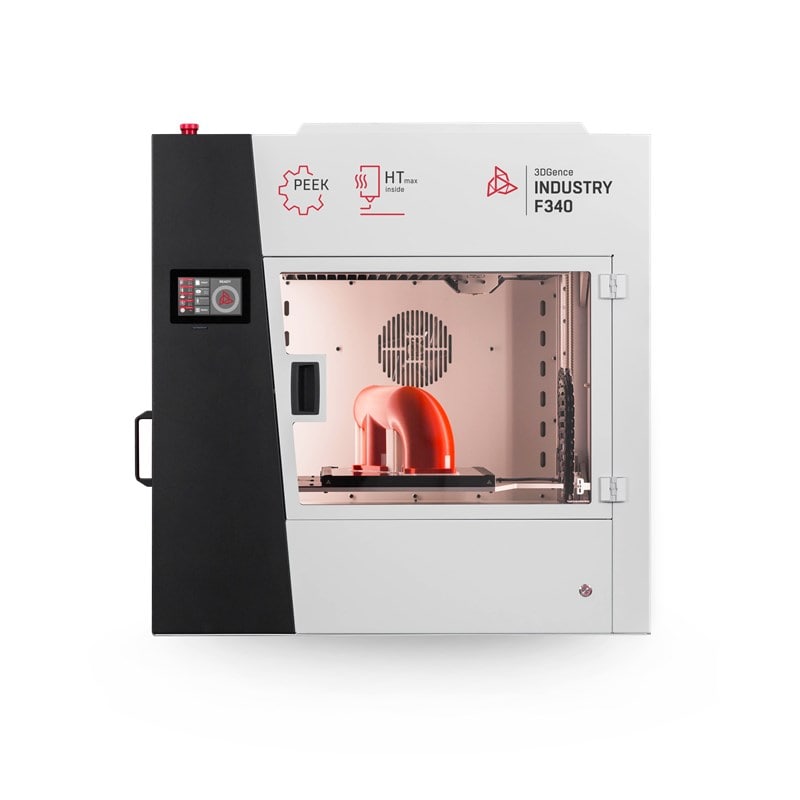
The tube curvature assembled in the detail

A customer was notoriously struggling with tube curvature in a manufactured part. He was unable to locate the direct cause of the bend, so he decided to perform a serial inspection on all parts. During the inspection it became apparent that some instances

Read more

Contact the Expert

Maciej Janeczek
Key Account Manager

+48 577 377 083
maciej.janeczek@sgpgroup.eu

Stages of works

Ikona Telefon

1.Contact

Ikona Oferta

2.Offer

Ikona Uścisk dłoni

3.Order

Ikona mierzenie

4.Inspection

5.Analysis

6.Report

Ikona walidacja

7.Results