Serial Digital Control (Visual Comparator)

Share:

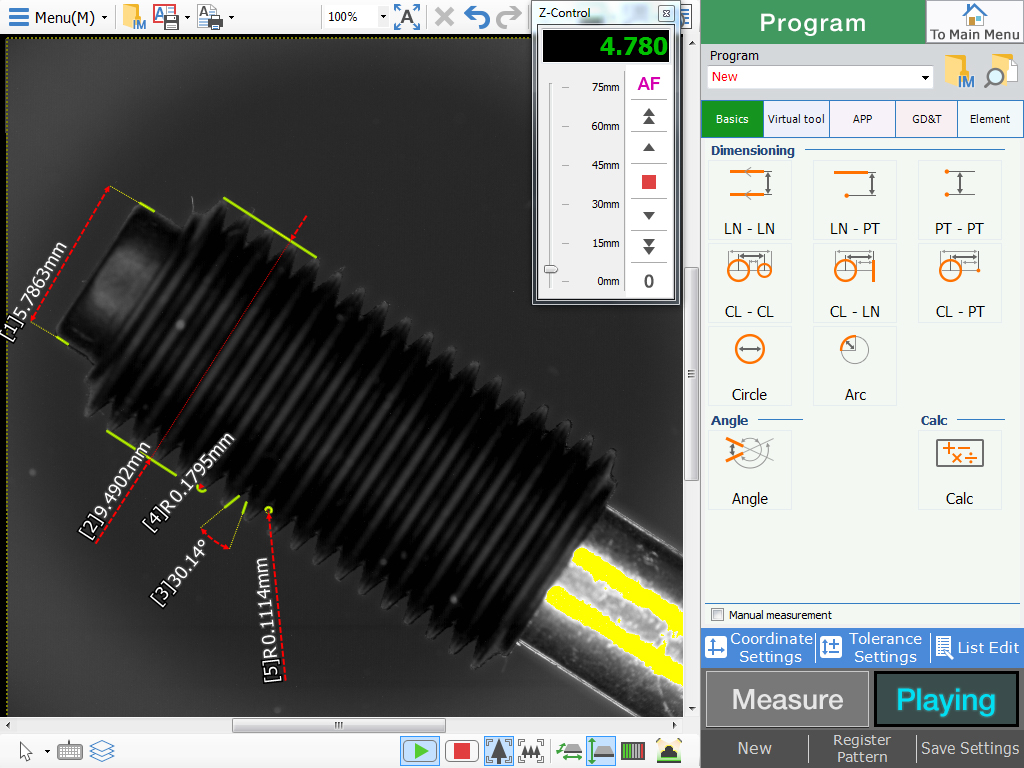
Visual comparator allows a quick and accurate measuring of particular parameters of a detail.

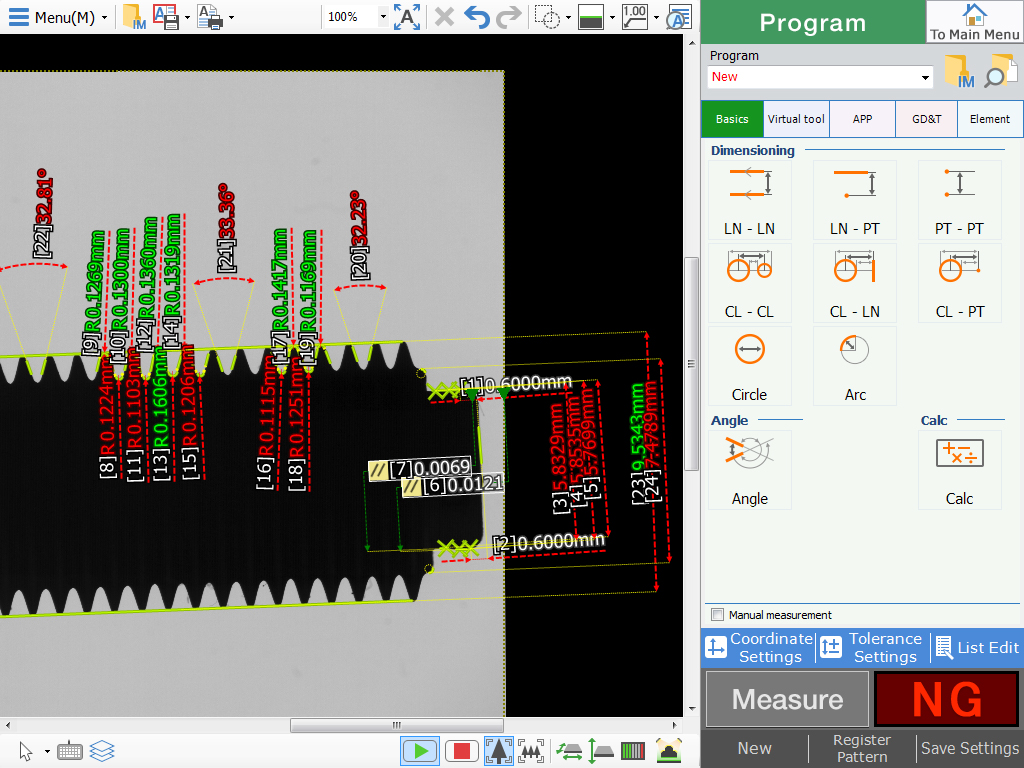
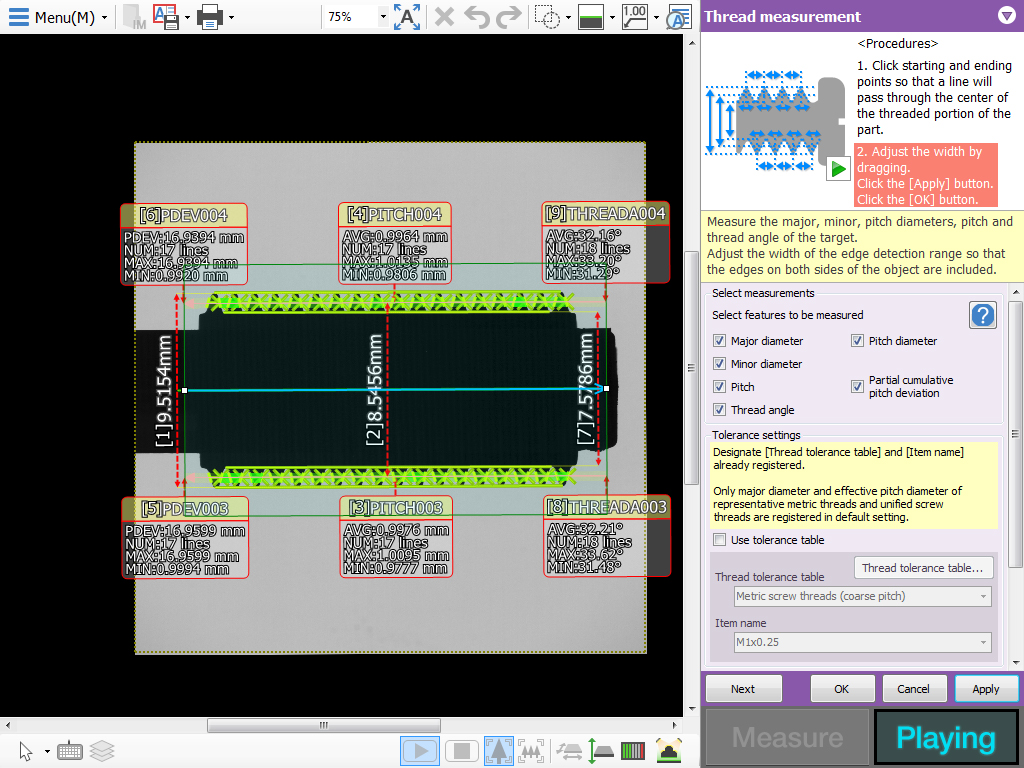
By using a combination of microscope, computer and projector functions we created a program that automatically verifies the indicated areas, qualifying the detail as compliant or incorrect. This program is created on the basis of the data imported directly from the drawing of the detail provided by the customer. Areas designated by the customer, including one or more dimensions and their tolerances, are tested using this method. At the same time it is possible to check the dimensions of many details – precisely as many as can be captured by the projector camera. The applied method of dimensional verification gives a reliable and unambiguous result. This way the quality control is much faster and its performance in an automatic way allows to exclude the operator’s error.

  • The inspection with a measuring projector – verification of a detail on the basis of parameters specified by the customer, presented in the form of a control and measurement report.
  • Batch inspection – automatic dimensional control of a batch of parts, verifying the controlled parameter with simultaneous differentiation of OK and NOK pieces.
sgp quality lab_projektor pomiarowy

Usage of visual comparator for customer’s problem solving

A new customer observed a dimensional inconsistency of the rivets used in the production process. Wanting to quickly inspect and separate incompatible elements, he reported to SGP Quality Lab. The best solution to this problem was digital analysis.

Read more

Contact the Expert

Maciej Janeczek
Key Account Manager

+48 577 377 083
maciej.janeczek@sgpgroup.eu

Gallery

Used equipment

Visual comparator

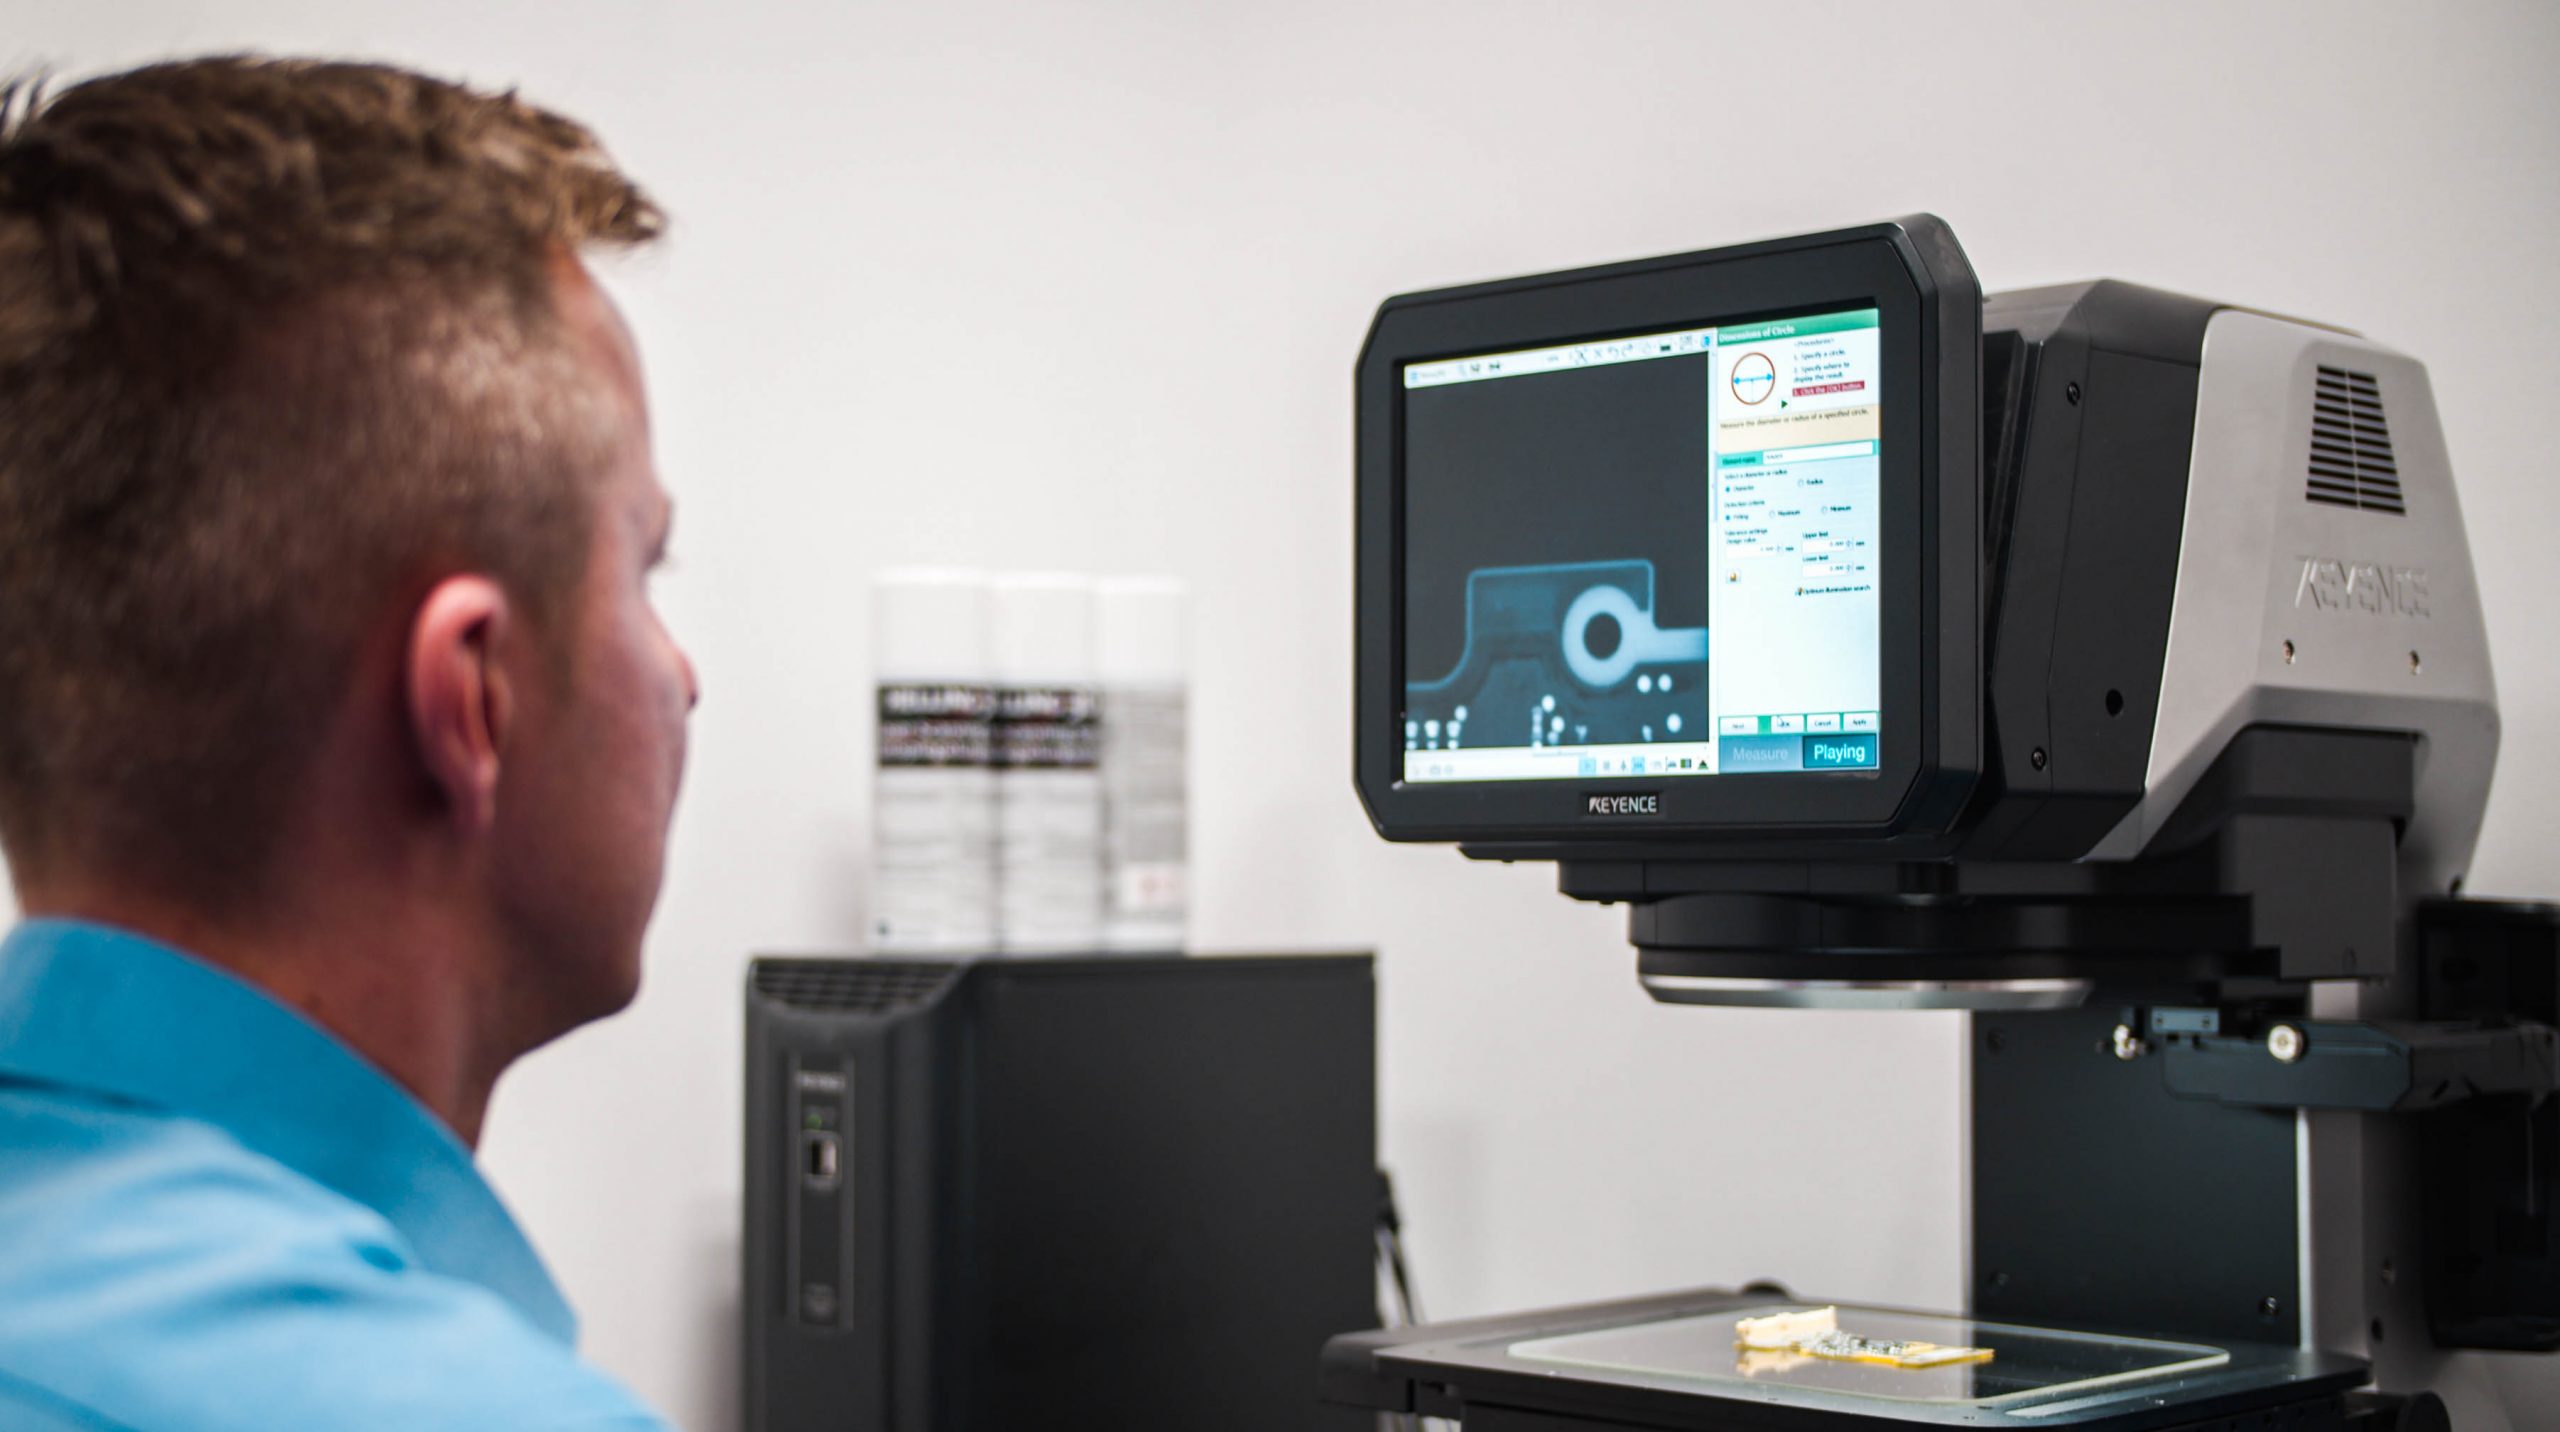
Keyence's IM-7020 digital measuring projector reduces the time of serial measurement using a digital microscope.

Read more

Stages of works

Ikona Telefon

1.Contact

Ikona Oferta

2.Offer

Ikona Uścisk dłoni

3.Order

Ikona walidacja

4.Completion

5.Reporting