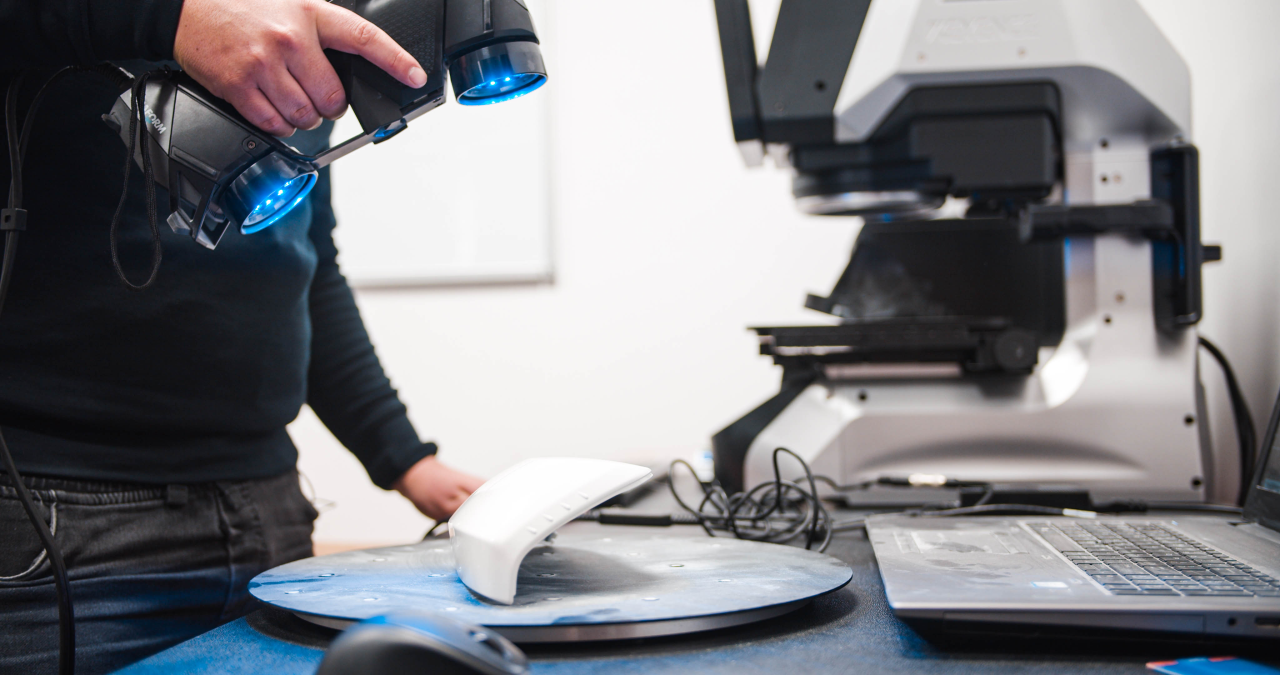
What is a 3D scanner?
3D scanners, also known as Optical Measurement Machines, are the foundation of modern measurement techniques, enabling the touchless collection of accurate geometric data of objects. These devices are widely used in engineering, manufacturing, entertainment, and the protection of cultural heritage, offering precise digital replicas of physical objects. They allow for reverse engineering, prototyping, and quality control, speeding up production and design processes by quickly gathering large amounts of information with high accuracy, often up to 0.02 mm.
3D scanning transforms objects into digital models, primarily in the STL format, used in quality control, CAD design, and entertainment, such as special effects in movies. Their versatility and mobility allow for easy movement and measurement in different locations, even those hard to reach, making 3D scanners an indispensable tool in many situations. Optical and laser technologies used in scanning have specific applications and limitations but offer solutions even for surfaces difficult to scan, such as transparent or shiny ones.
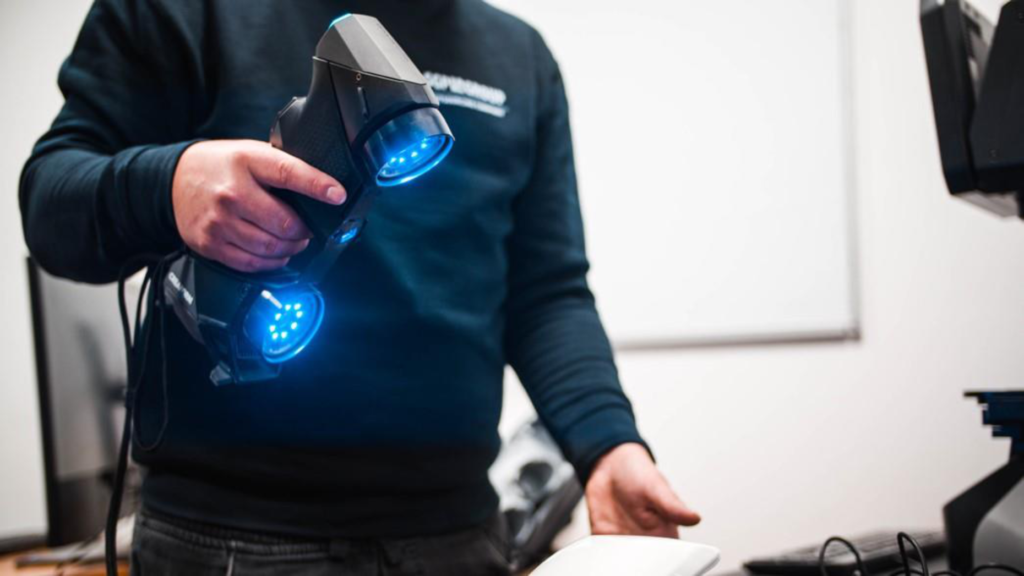
Our technologist during detail scanning.
Data from 3D scanners are used in the production of films and games, industrial design, orthotic production, prototyping, quality control, reverse engineering, and in medicine for creating personalized implants and prostheses. They are also invaluable in the documentation and conservation of cultural objects, contributing to their protection for future generations.
Types and technologies of 3D scanners
3D scanners are advanced devices used for digitizing spatial forms of objects, transforming them into accurate digital models. Their operation is based on complex technologies that enable precise capturing of data about the geometry of scanned objects. Below are the main types of 3D scanners and the technologies they are based on.
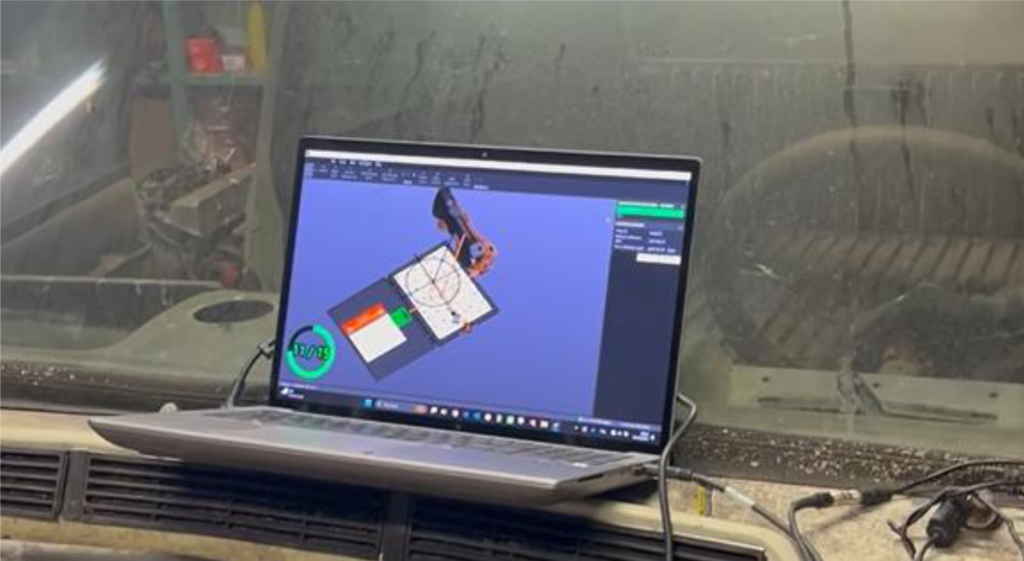
3D Scanner Calibration Process
1.Structured Light Scanners
These scanners use LED projectors to emit light patterns onto the object being scanned and then track the changes in these patterns caused by the object’s topography using two cameras. They are extremely precise, though they require static working conditions, meaning neither the scanned object nor the measuring head can move during scanning. Despite some limitations in mobility, structured light scanners offer high measurement accuracy, which is crucial in many industrial and research applications.
2.Laser Scanners
Laser scanners operate by projecting a laser onto the scanned object and analyzing the deformation of the laser stripes by two cameras. This allows for dynamic generation of measurement data, which facilitates the scanning of moving objects and increases the system’s mobility. Laser scanners, especially handheld ones, are more flexible in use and can operate in difficult conditions, including confined spaces and industrial environments with vibrations.
3D Scanner Technologies
-
Contact
Contact scanners require physical touch with the object, which can be a limitation in the case of delicate or intricate details. However, they are irreplaceable in precisely measuring dimensions and can be used in applications where the highest accuracy is required.
-
Non-Contact Active
These scanners emit various types of radiation (light, ultrasound, X-rays) and analyze its reflection or penetration through the object. They can be divided into:
- Structured Light: Use light to project patterns onto the object and analyze the deformations of these patterns. They are fast and precise, ideal for scanning large areas.
- Laser Light: Emit laser light onto the object and record the deformations. They are exceptionally accurate, especially for objects with complex geometries.
-
Non-Contact Passive
These scanners rely on the detection of natural or illumination light reflected from the scanned object. They do not require emitting their own radiation, making them less invasive. They are relatively cheap to produce and can be used in various applications where less measurement accuracy is sufficient.
The choice of the appropriate type and technology of 3D scanner depends on the specific requirements of the application, such as accuracy, speed, mobility, and environmental conditions. Structured light scanners offer high precision in controlled conditions, while laser scanners provide greater flexibility and mobility in the field. Contact technologies remain indispensable in some engineering applications where maximum precision is required. Meanwhile, non-contact technologies, both active and passive, represent a wide range of tools tailored to various measurement needs, from documenting cultural heritage to comprehensive engineering and design analyses.
3D Scanner Operating Principle
One of the key methods used in 3D scanning is the technique based on the Moiré fringe distortion effect. Below, the process is detailed along with the technologies and methods used to obtain accurate digital replicas of objects.
Use of the Moiré Fringe Distortion Effect
- Fundamentals of the Effect: The Moiré fringe distortion effect is based on the projection of a line pattern (raster) with a known density onto the surface of the scanned object. This pattern distorts in a way that depends on the geometry of the object, allowing for an accurate representation of its shape in three dimensions.
- Capturing the Distortions: Precision digital cameras are used to capture the distorted pattern. These cameras register changes in grayscale between the lines of the pattern and the object’s surface, which allows for precise determination of the points’ positions on the surface of the scanned item.
- Creating a Point Cloud: The information obtained by the cameras is converted into digital coordinates, creating what is known as a point cloud. Each point in the cloud represents a specific place on the object’s surface, which after processing, allows for the reconstruction of its three-dimensional model.
Use of Reference Points
- Role of Reference Points: To ensure the stability and precision of the point cloud, reference points are used. They can be placed directly on the object or in its surroundings. Thanks to these markers, the scanning system can accurately navigate in space, allowing for precise placement of the measurement data in the global coordinate system.
- Markerless Tracking Systems: Some systems use external tracking devices, which eliminate the need for reference points. This allows for maintaining high measurement accuracy without the need to physically mark the scanned object.
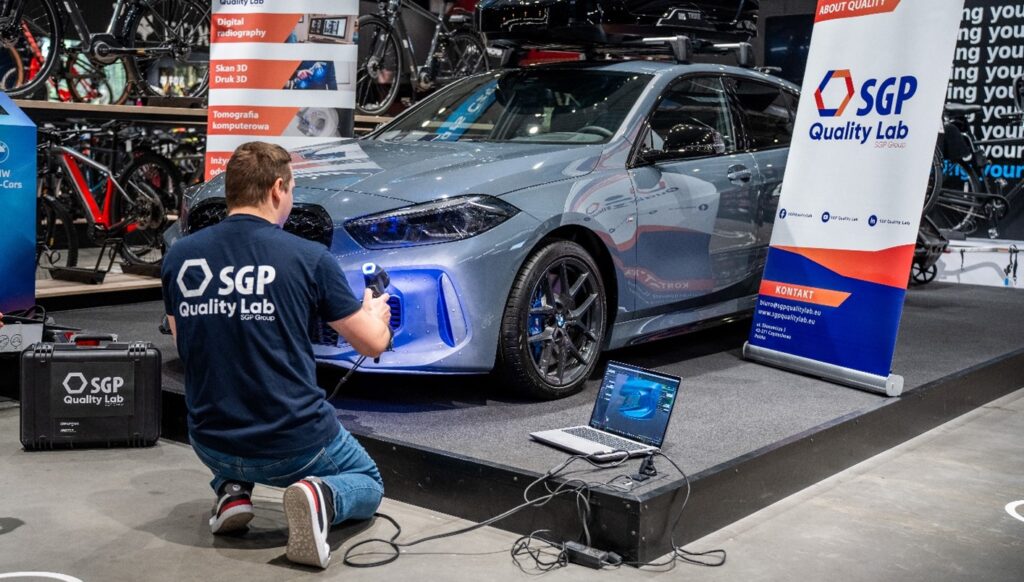
Laser stripe distortions on a car bumper and direct view of the scanned detail
Data Integration and Model Creation
- Combining Scans: For scanning larger or more complicated objects, individual scans must be integrated with each other. This process can utilize geometric features or color details to accurately match different parts of the scan into a coherent 3D model.
- Processing and Optimization: After compiling all the data, software processes and optimizes the model, removing any inconsistencies and improving the quality of the final digital object. In this way, an accurate and detailed replica of the scanned item is obtained, ready for further use in various applications.
Generated Data and Postprocessing in 3D Scanners
3D scanning starts with digitization, the precise capture of an object’s geometry, and ends with postprocessing, which transforms raw data into useful models. Below, both of these phases are detailed.
Phase 1: Data Generation by 3D Scanning
- Digitization of Geometry: The process begins with moving the measuring head along the entire geometry of the scanned object. The goal is to capture all surfaces of the object to analyze them accurately. The key aspect here is precision, enabling the system to recognize even the smallest details.
- Impact of External Factors: The accuracy of 3D scanning can be hindered by various difficult-to-control external factors, such as changes in temperature, shocks, external light sources, the type of material of the object, or reflections. These factors can cause information about the same surface to be recorded by the system as many different points.
- Raw Point Clouds: The result of scanning is what is known as a raw point cloud, a collection of all the point coordinates captured by the measuring system. This is a preliminary form of data that requires further processing to become a useful model.
Phase 2: Postprocessing and Polygonization
- Polygonization Process: There is an automatic optimization and averaging of raw data to transform it into a uniform and precise STL triangle mesh. Polygonization is a key stage of postprocessing, where points are connected into planes, creating a simplified representation of the object’s geometry in the form of a mesh.
- Utility of the STL Mesh: The resulting STL triangle mesh is a format that can be used in many applications, such as quality control of products, reverse engineering, computer simulations, 3D printing, and visualizations. It is a format widely accepted by CAD, CAM, and other engineering and design tools.
- Further Analysis and Applications: The STL model can then be used for detailed analyses, including checking conformity with original design specifications, simulating the behavior of components under various conditions, or for creating prototypes and final products. Data generation and postprocessing in 3D scanners are processes that together form the foundation for accurately replicating physical objects in a digital environment. Starting from a raw point cloud and ending with detailed 3D models, 3D scanning enables the transformation of physical reality into digital data, which can then be analyzed, modified, and used in a wide range of industrial and scientific applications.
Examples of 3D Scanners
Usage Thanks to their versatility and ability to accurately reproduce shapes in three-dimensional space, 3D scanning has found wide application across various industry sectors and fields of life. Below, we detail how 3D scanners are used in different industries and the benefits they bring.
- Castings, Forgings, and Molds: 3D scanning enables precise quality control and dimension verification of castings and forgings, which is essential in many manufacturing processes.
- Plastic and Composite Components: 3D scanning allows for the precise analysis and design of components made of plastics and carbon fiber, which is crucial for industries such as aviation and automotive.

Mesh grid of the replicated detail (on the left) and rainbow analysis – gradient of deviations from the nominal (on the right)
- Automotive Parts and Bodyworks: Scanning facilitates accurate fitting and designing of spare parts and optimization of bodywork design.
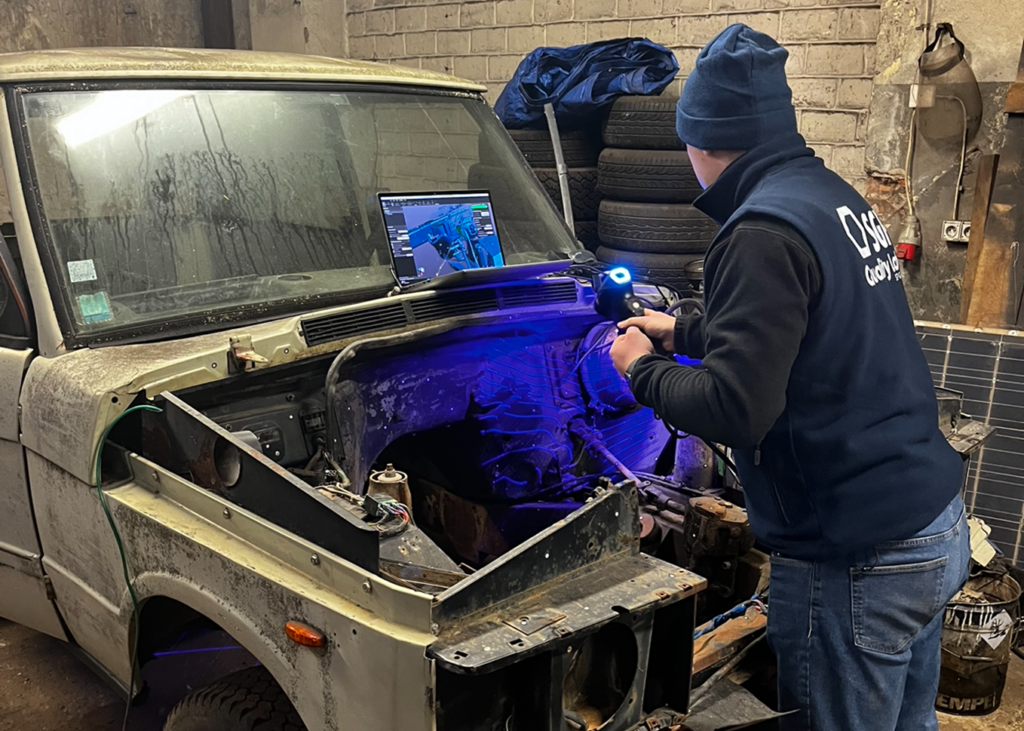
Our technologist during the scanning of the frame of an old Land Rover engine
- Boat Hulls and Yacht Cabins: In shipyards, 3D scanning accelerates the design and production process, enabling the creation of accurate models of hulls and cabins.
- Implants and Prostheses: In medicine, 3D scanners allow for the creation of personalized solutions that perfectly fit the needs of patients.
- Steel Structures and Welded Assemblies: 3D scanning is used to monitor the quality and accuracy of steel constructions, which is essential for safety and durability.
- Monuments and Artworks: In cultural heritage, 3D scanning enables documentation and protection of valuable artifacts and allows for the creation of accurate replicas for educational and exhibition purposes.
Summary
The high measurement accuracy, mobility, and versatility have made 3D scanners widely used in practically all types of industry around the world. Thanks to the amount of data generated in the 3D scanning process, we can obtain much more information about the quality of the produced product and detect its potential defects where we might not even expect them. Additionally, we gain the ability to recreate and optimize elements for which we do not have documentation or a CAD model, which can significantly impact the time it takes to design new parts.
If you have parts requiring digitization or are interested in professional services related to 3D scanning, please contact our consultant at bartlomiej.szybecki@sgpgroup. We also offer complimentary trial measurements and live demonstrations. You are also invited to our YouTube channel scanning 3D where we perform scanning of bicycle and automotive parts.
